Garrattfan's Modelrailroading Pages
AD60
Inventory
|
Well, as mentioned I got my AD60 via my modeller's network. I hope Andy, you'll follow me along while I build and share the fun with everybody. As soon as my NS class 6200 was drawing to an end I started preparations for the build of the AD60. It was burning its in storage box ;-) Of course I spent some time drooling over the kit. When building the NGG16 I found it was not only wise to study the manual thoroughly but also to digitize it and rearrange, subdivide and number the instructions. In that way it is far easier to keep track of progress and current status. So I made my own version of the instruction manual. Feel free to read it. I intend to document the building process on this site and the photos and text will refer to the respective chapters and numbers in the manual. After that was settled I turned to the box full of goodies itself. First step is to document the parts and see where and what they are. This is another step in getting acquainted with the kit. Necessary? No not really, I'm just savouring the very sight of an unstarted kit. You know, you will have the completed loco to stare at for years. But how long will your eyes feast on the unstarted kit? So, enjoy the moment. The manuals in these kits usually advise to "thoroughly checks if all parts are present" to claim missing parts. But this kit is so huge it will last ages before all inventory is made. I skipped that chapter.
|
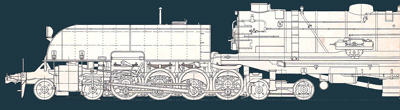
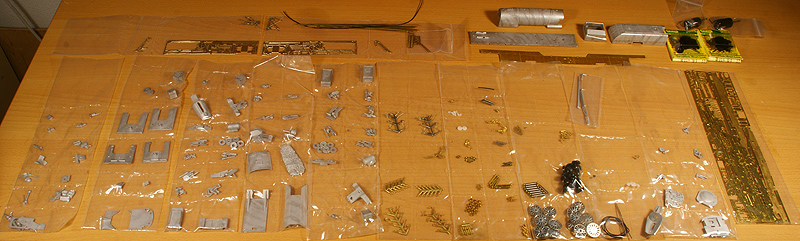
The complete kit. The manual identifies 253 different parts, tallying for some 730 individual parts, not counting the various parts you will have to make from the included brass wire. |
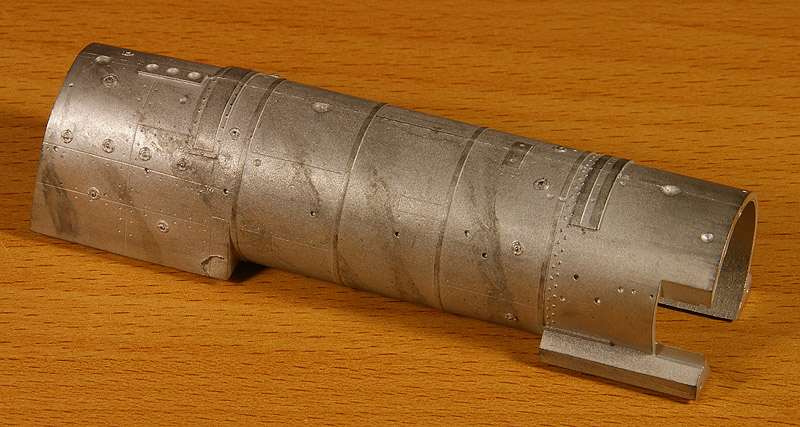
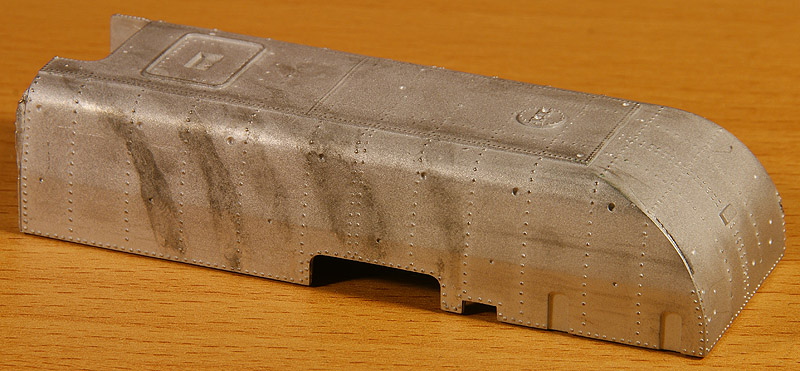
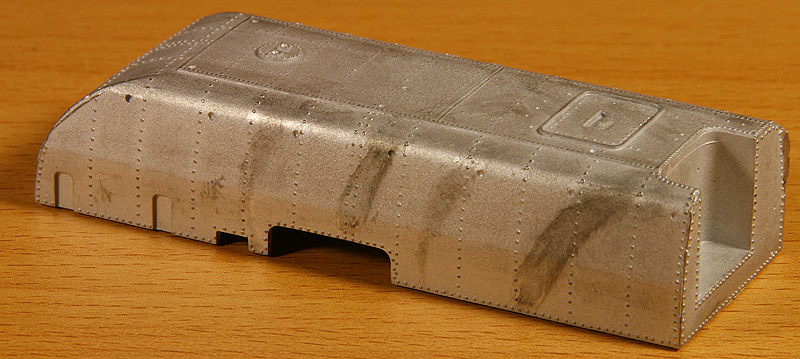
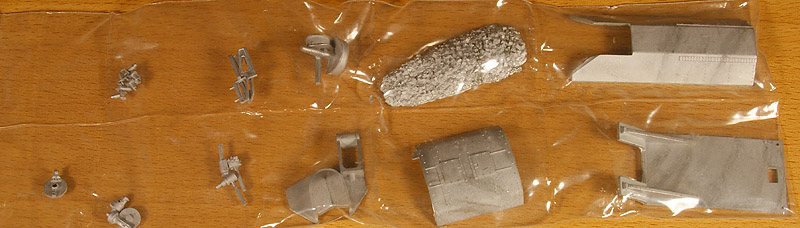
Firebox, boiler and smokebox are made in one large casting. The casting is pretty crisp but needs some tidying up. |
The front water tank |
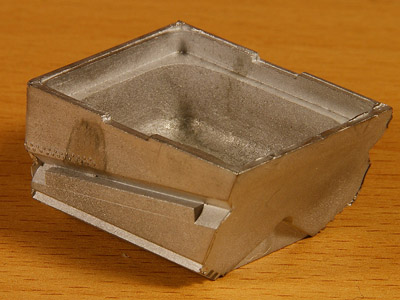 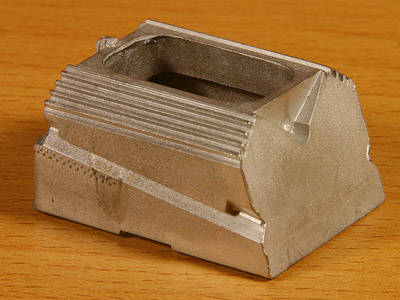
Ash pan upright and upside down |
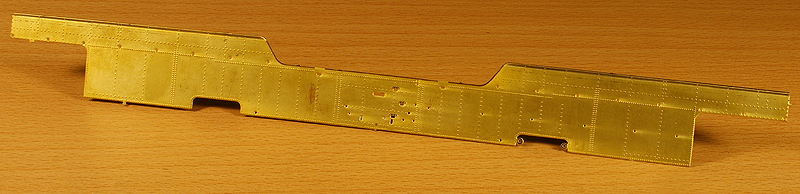
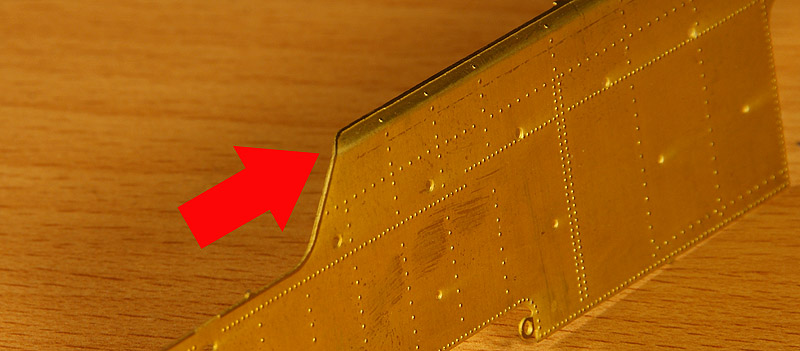
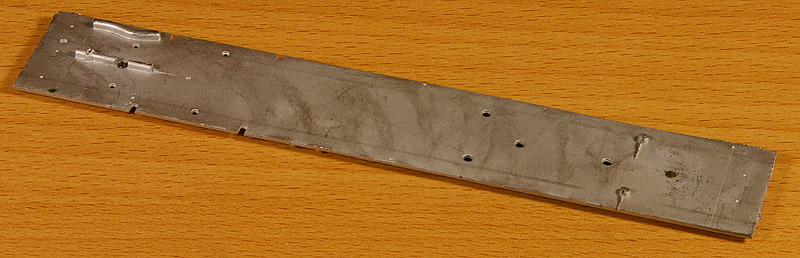
Main footplate upright and upside down, the latter showing the pivots for the drive units |
Outsides of rear bunker. |
DJH has pre-bent the upper part of the bunker. Pre-bending saves time and pain for the inexperienced builder. But who would actually start this kit without experience? But thoughtful anyway. |
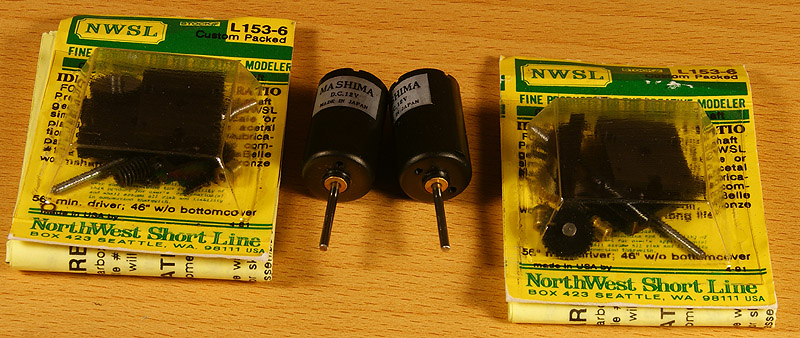
Mashima motors and gear boxes by NWSL, two sets per kit |
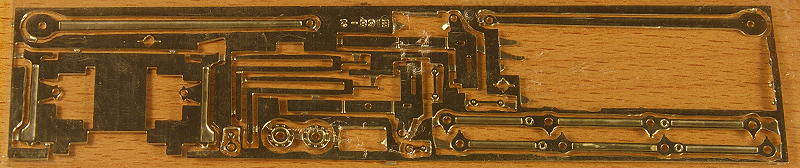
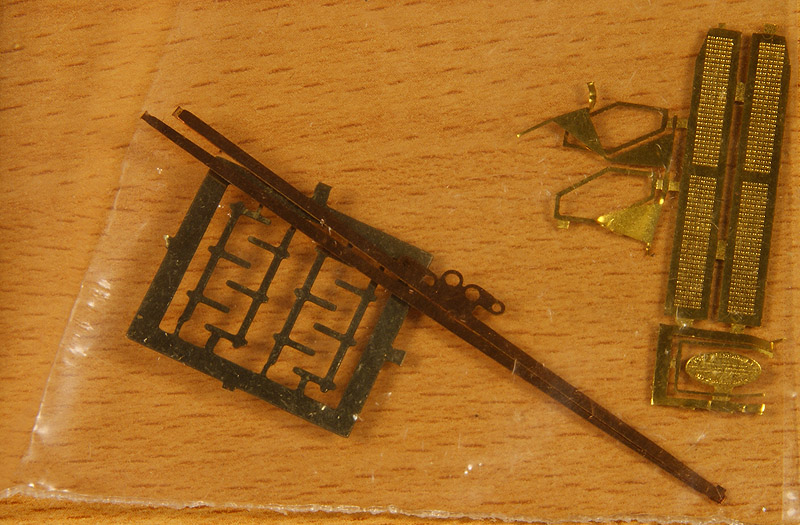
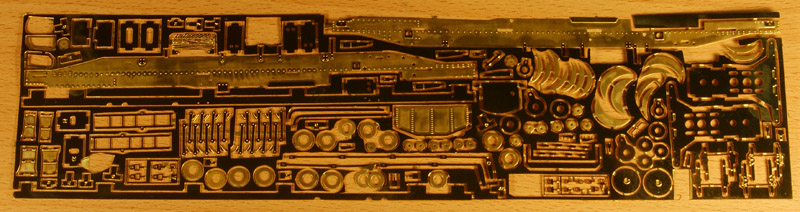
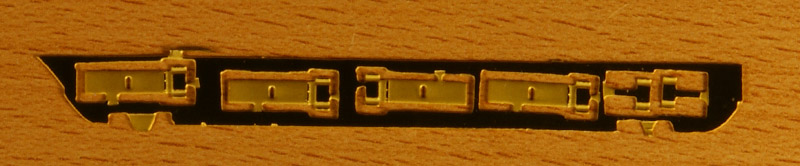
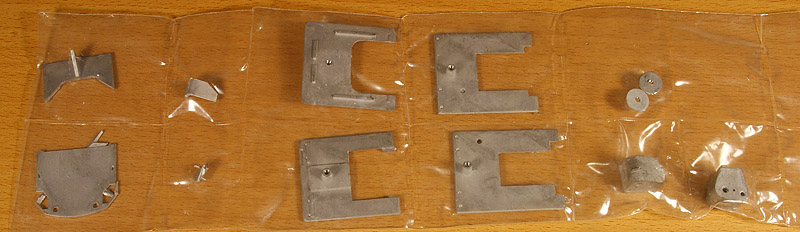
Nickel silver etch plates (two sets per kit). |
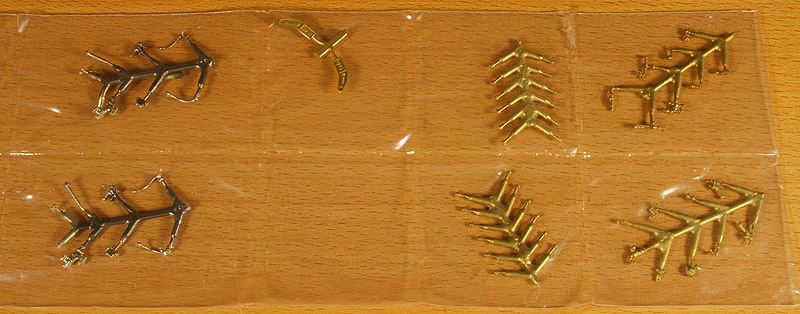
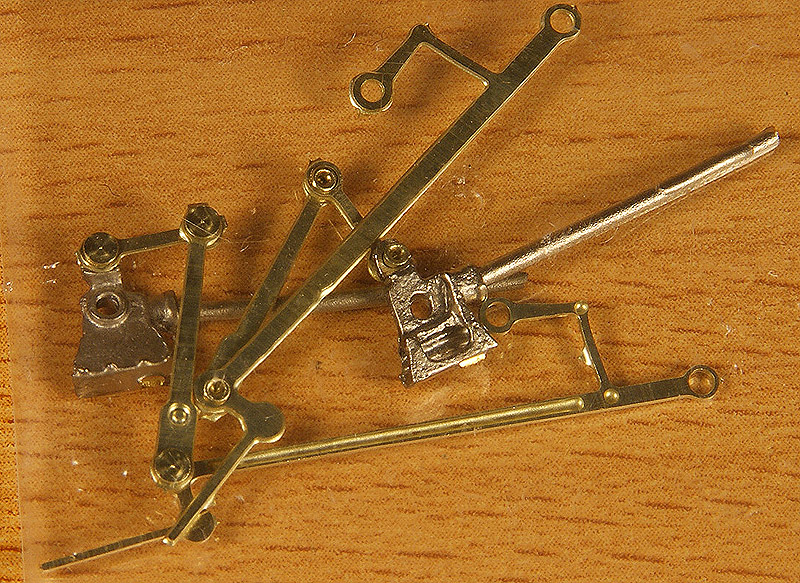
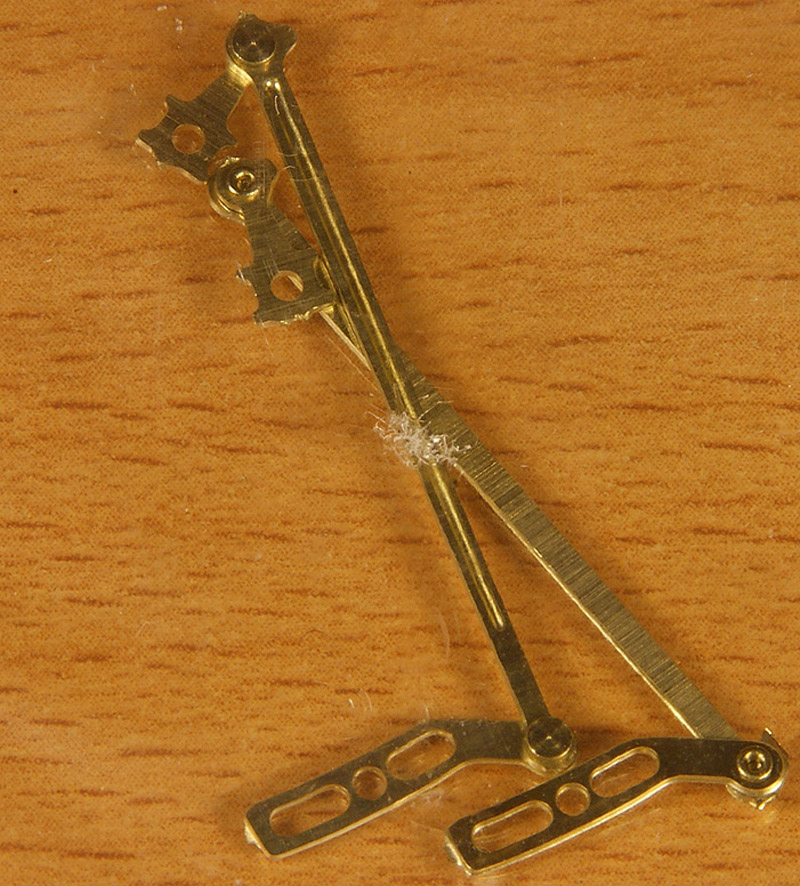
Drive rods and valve gear, some of them unfortunately pre-assembled Personally I would preferred to assemble the valve gear myself by soldering as I did on the NGG16. This would almost certainly have resulted in a Walschaerts' valve gear with less play than the factory pre-assembled ones. |
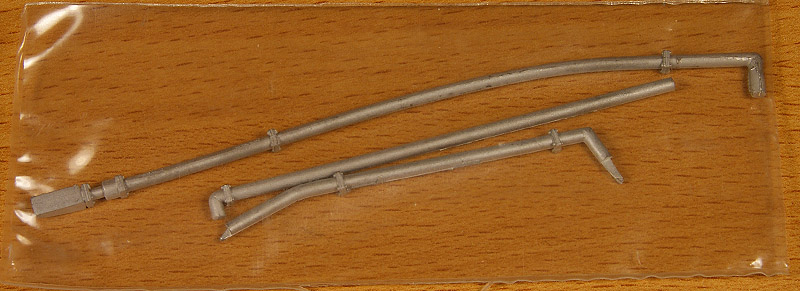
White metal piping |
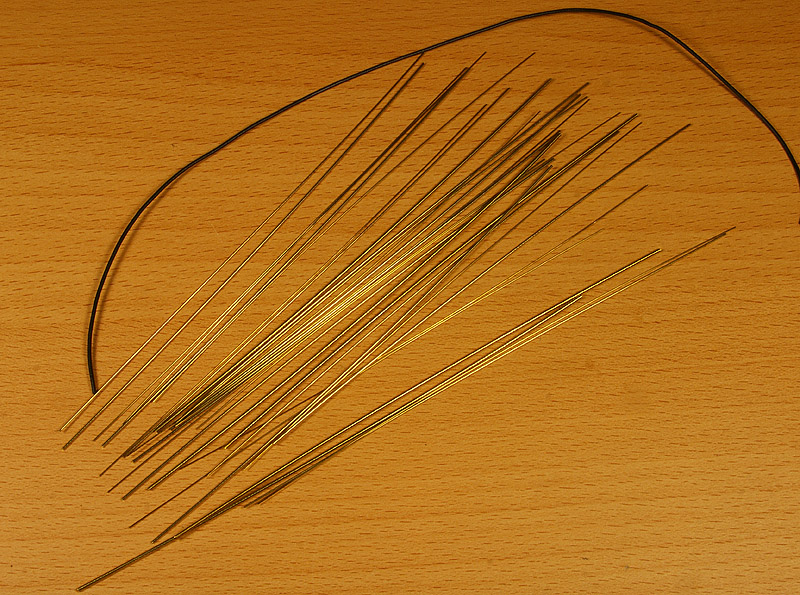
Quite some brass rodding to cut and bend to size |
Various part, amongst which the builder's plates and the pick ups
|
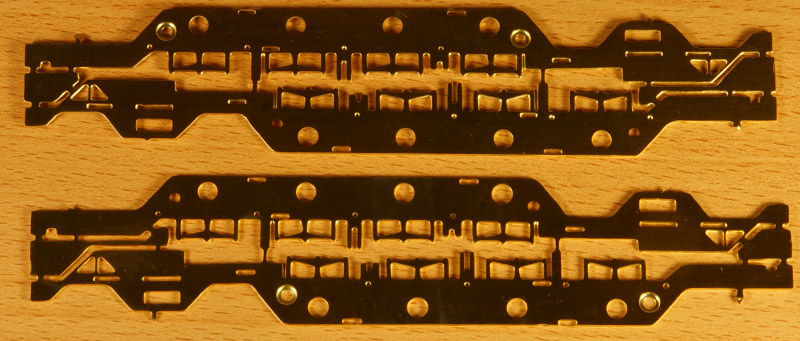
The main frames of the drive units. |
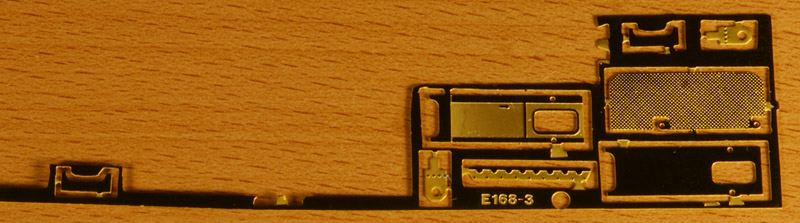
An etch plate full of parts, varying from half etched washers, counter weights on the driver wheels, the boiler cradle main frame overlays,brake hangers etc. etc. |
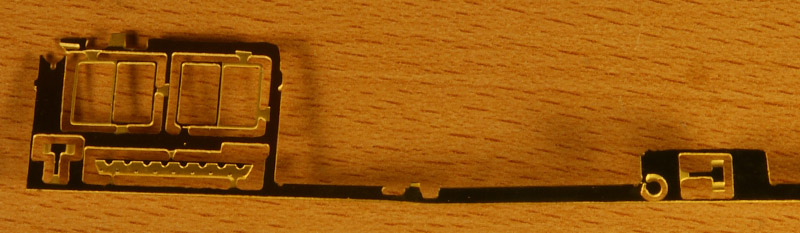
Some other etched part that didn't seem to fit on the previous cramped etch plate
|
|
|
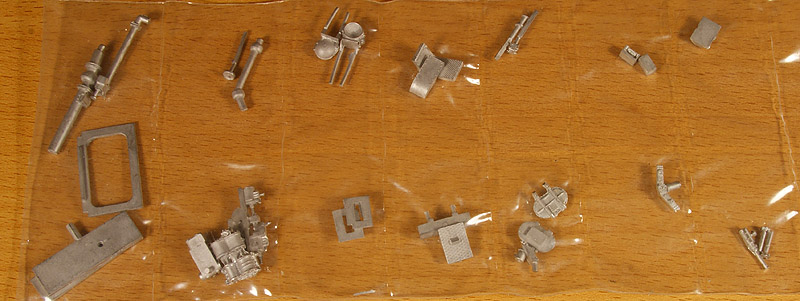
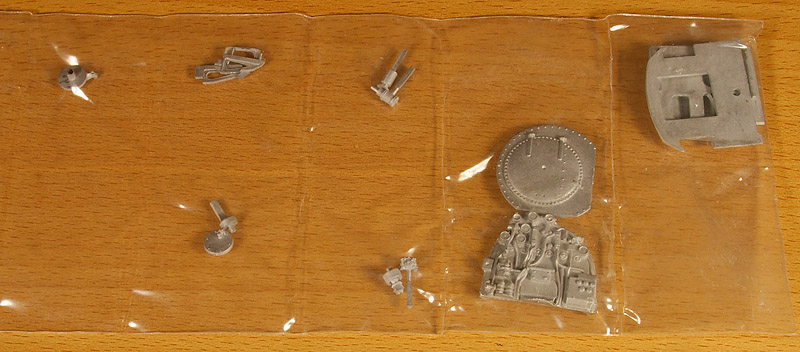
White metal castings: pumps, lids, steam actuated reverser, head lamps.
|
White metal castings: cab rear, foot plates of the driving units and (right) cylinders
|
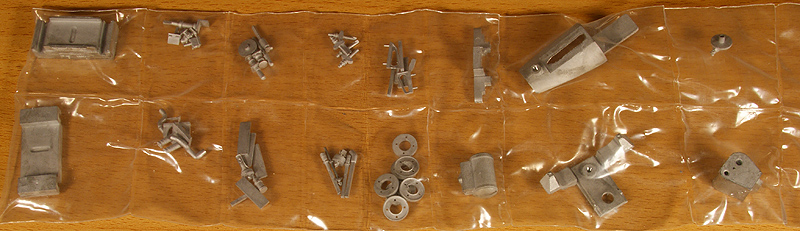
More white metal castings, wheel insert, cylinders etc.
|
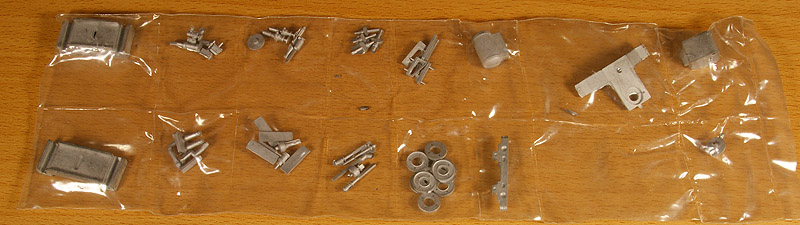
From left to right: cylinder parts, brake cylinders for the inner bogies, bunker supports, various bunker parts (front and top), cab roof.
|
Form left to right: Two inner bogies, various small parts cylinder parts, bogie axle covers, snifter valves, air vents, bogie wheels centres. air tank, buffer beam pivot and sandboxes, cylinder parts. |
Cylinder parts, bunker supports, brake cylinders for inner bogies, boiler backhead, smokebox door, cab front and sides. |
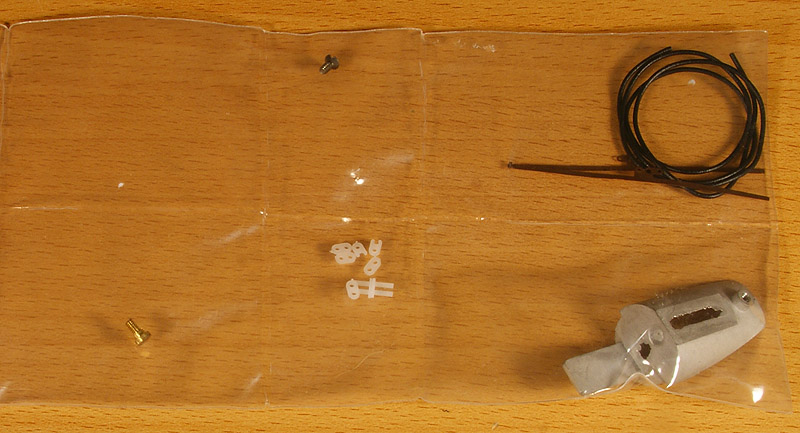
Motor screw, insulating parts for the current collectors, wiring, motor mount. |
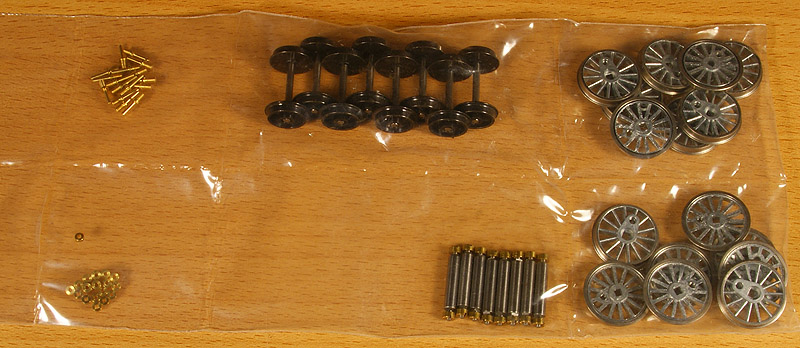
Wheels and axles for the drivers, and carrying wheel sets |
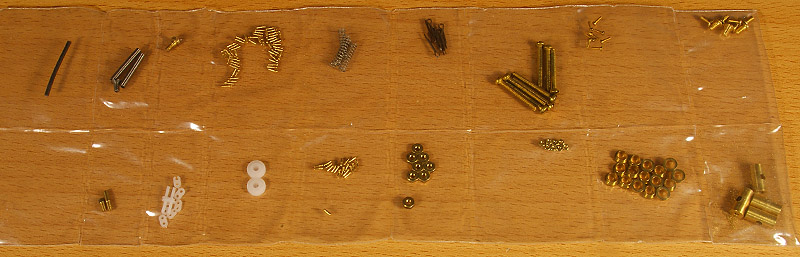
Small cast brass detail parts |
Various small parts, stanchions, bushings, bolts and screws |


Sign my
GuestBook